Showing posts with label baby quilt. Show all posts

Wednesday, August 29, 2018

Week 6 of Happy Go Lucky Sew Along

I love seeing pictures of your progress with the Happy Go Lucky blocks.  They are pretty simple, and I hope beginners as well as more experienced are enjoying this sew along.  Can you believe we are about ready to start sewing the quilt together?


This week is another favorite block of mine, the Sawtooth Star.  I have made many quilts with this block in it.  How about you?  Our extra block is called the Morning Star block and will finish at 12 1/2".  I like this block so much that I am working on another quilt using this block.


Morning Star Block 

Cutting:
 A (background fabric) cut (1) 5 1/2" square
                                         Cut (4) 3" squares 
                                         Cut 4) 3 1/8" squares
  B  (pink)                          Cut 1) 4 1/2" square
  C ( green)                       Cut 1) 5 1/2" square
                                         Cut 4) 3 1/8" squares
                                         Cut 4) 2" x 4 1/2" rectangles and
                                        4) 2" x 3" rectangles                                                              


No-Waste Flying Geese Units


1.       On the wrong side of the 3 1/8” fabric C squares, draw a diagonal line.  With right sides together, place a marked square on the corner of the 5 ½” fabric A square.  Place another marked square on the opposite corner.  The centers will overlap a bit.
       2.        On each side of the drawn line, sew a ¼” seam.  Cut apart on the drawn line, open and        
            press.  You have made 2 sections for your flying geese.
       3.       With right sides together place a marked fabric C square on the corner of fabric A.  Sew ¼”               on each side of the drawn line. Cut apart on the drawn line, open and press.      
       4.       Repeat step 3 with the other section. You will now have four flying geese units. 
                Trim all  four to measure 2 ½” x 4 ½”      

                                                   
5.       Now repeat steps 1 through 4, using the fabric C (5 ½”) squares and fabric A (3 1/8”) squares.


6.       Repeat the instructions 1 through 5.  You should have a total of 4 flying geese units that measure 2 ½” x 4 ½”.

 Corner Units

1.       Sew a 2” x 3” fabric C rectangle to the right side of a 3” fabric A square.


2.       Sew a 2” x 4 ½” fabric C rectangle to the bottom of the section you made above. Makes one corner unit.  Make 2 of these corner units.
      3.       Repeat steps one and two and make two mirror image corner units. 


    You should have a total of 4 corner units as shown above.

Assemble the Block

1.       Pay attention to the placement and orientation of the flying geese units.  Sew one A-C flying geese unit to a C-A flying geese unit. Make a total of 4 units like this.       

2.       Refer to the block assembly diagram for proper placement and orientation of fabrics. 

 Block Assembly Diagram


     Our prize winner for week 4 is Shelley AKA Happy.


     Jennifer Fulton of the Inquiring Quilter has kindly offered one of her wonderful PDF patterns, which you can check out here at her shop.  Jennifer sponsors a very fun Linky party every Wednesday called Wednesday Wait Loss.  It is one I enjoy linking to whenever I can, and of course it is inspiring to visit all the links.


Have a great week!  Please be sure to link up with a picture of your blocks for this week! And don't forget that everyone who has linked up and have all of their blocks finished will be in the drawing for the grand prize!




Saturday, August 18, 2018

Scrappy Saturday

It seems like quilters love scraps, and why not?  We certainly have more than we can ever use.  At times I think my strips are multiplying!

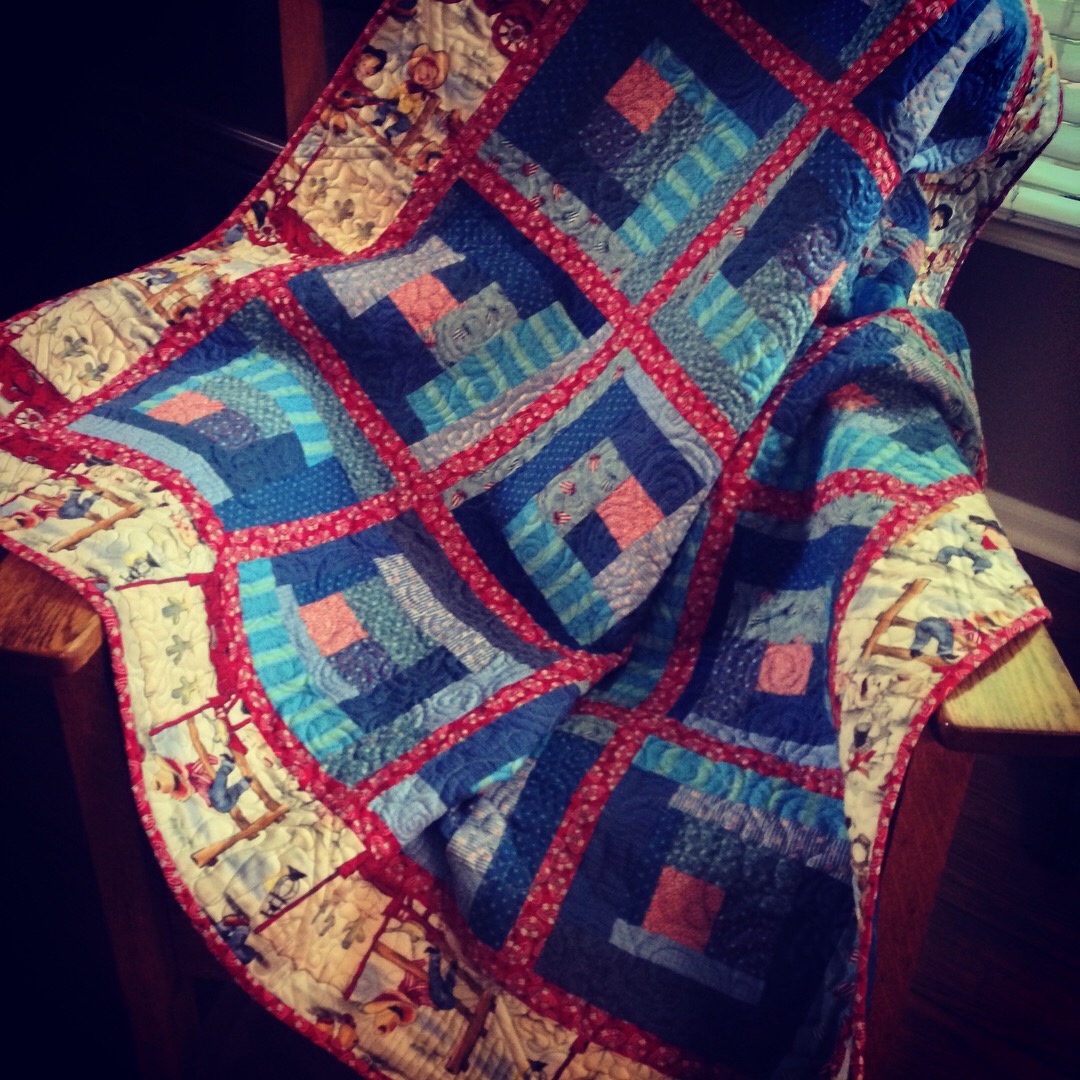
Here is a recent finish for Project Linus.  I simply cut up a bunch of blue scraps into multiple sized strips, then started sewing my wonky log cabin blocks.  These are stress free, quick and easy to sew.
I do love the wonky blocks!   Even the border is scraps left over from a backing.


Practicing my pebbles and swirls...thinking don't much like the pebbles but I do like the concentric swirls.  I have been following along with Angela Walters free motion quilt along.  I have been doing free motion quilting on my domestic machine for years, and I am still learning.  Angela is a great teacher, and the videos on You Tube are well worth your time.  And it does take practice!


Aren't these little cowboys the cutest?

grace and peace.....Sharon

Tuesday, June 26, 2018

New pattern, Happy Go Lucky!

Sometimes I meet myself in the middle and get some things done here in my studio....other than making quilts,  I mean.  Writing patterns takes me forever,  I would much rather design and sew.  To make writing more difficult, I dropped my laptop and now the I key sticks!  So on to the fun stuff!

Happy Go Lucky is my newest quilt.  Beginners and seasoned quilters will have fun making the classic quilt blocks in a variety of sizes.  It is 44" x 50", making it perfect for a toddler or a baby quilt.  Make it into a throw by adding a larger border.  The quilt pictured is made with fabric provided by Island Batik aptly named Pet Zoo.  Love the bold, bright colors, and the subtle jungle animals!


I quilted it on my domestic Janome 7500 with a simple wavy line plaid, a quick and easy to do pattern using the walking foot.  

This pattern will be on sale until the 4th of July on Craftsy for $5.00.  Then it will go up to $9.00.  You know you have to have it!  It will be a fun project for the lazy days of summer!

Stay cool!
Sharon

Linking to: Moving it Forward
                  FreeMotion on the River
                  Lets Bee Social 
                  Midweek Makers